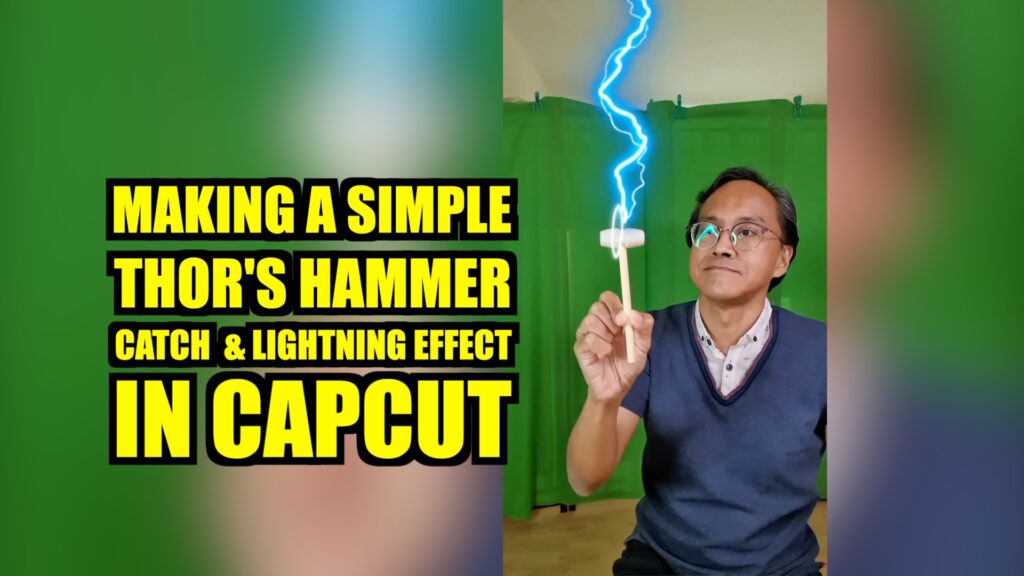
In this post, I document how I made a simple Thor’s hammer catch and lightning effect using the humble Capcut mobile video editing app on my Samsung Galaxy S10 Android phone… https://youtu.be/ZxCvB3CaIu8
Here’s how I make a simple Thor’s hammer catch and lightning effect in Capcut.
This idea is inspired by the mini hammer that came with my pinata cake.
I imagined the hammer flying into my hand or fingers.
At first, I thought of using a green screen but I decided to use Blutack instead.
Using the sticky Blutack, I stuck the hammer right in front of my phone camera set to the ultra-wide lens.
The phone is secured on a mini tripod. Below the tripod is a piece of a tablecloth.
Making Thor’s Hammer Catch Effect
I recorded the hammer flying towards my hand by using the other hand to pull the tablecloth.
- Open Capcut and start a New Project. Select the recording and tap on Add.
- Move the timeline to the part where I catch the hammer.
- Select Audio and choose Effects.
- Select the Fight category and choose Swords Cling.
- Tap the + button to add it to the timeline.
- While the sound effect is selected in the timeline, select Speed and slow it down to 0.5x.
- Activate Pitch at the bottom left.
Making Thor’s Hammer Lightning Effect
I recorded myself raising and lowering my mini pinata cake hammer.
- Go back to the same Capcut Project.
- Select the recording and tap on Add.
- Move the timeline forward to the part where I raise the hammer up
- From the toolbar select Stickers.
- Go to the category with an icon that looks like a Power wave.
- Scroll down and pick the thick blue lightning.
- Reposition the lightning above the hammer.
- Resize to make it bigger.
- Move the timeline to the beginning of the sticker.
- Select the sticker in the timeline.
- Tap on the keyframe diamond to add a keyframe.
- Move the timeline forward where I lower the hammer.
- Move the lightning down towards the hammer.
- Keep adjusting till it’s almost perfect.
- Go back to the Stickers menu and choose that oval shape energy wave thing.
- Rotate and position it over the hammerhead.
- Again keep adjusting till it’s almost perfect.
- Go back to the main toolbar and select Audio followed by Effects.
- Go to the Ambience category and add Thunder.
- Adjust the thunder timing till it’s almost perfect.
It will never be perfect.
It’s just a mini Thor’s hammer effect done on the humble Capcut.
Feel free to leave comments and questions. Like and share this post. Follow or subscribe for more vlogs and tutorials.
Download my full Android and iPhone video editing course here… https://videolane.com/courses/
See you in the next one!
~ Adrian Lee

![]()
Discover more from VIDEOLANE.COM ⏩
Subscribe to get the latest posts sent to your email.
