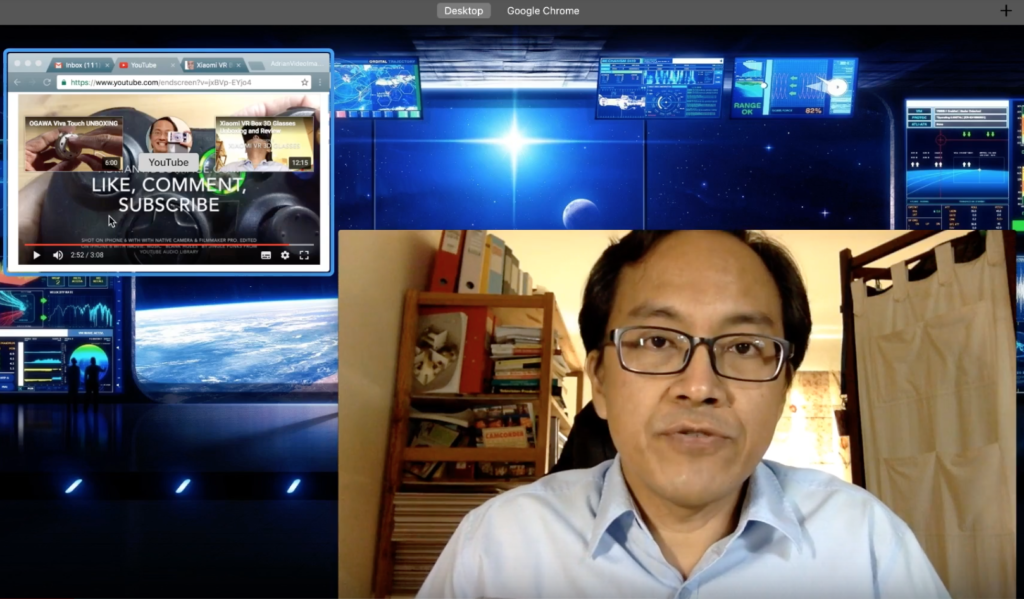
One YouTube daily vlogging challenge that worked. Prepare to sweat.
In the last video post, I did something different that sped things up.
I scripted, recorded, edited and distributed (vlog, blog, and social sharing) a video tutorial. All completed in record time. No follow-ups required.

The 10 Things
Here are my 10 things to a faster video content creation using the screencasting method.
- – My Macbook Pro is the best for recording the screen, my face, and my voice. The sound option (especially noise cancellation) is quick to setup, unlike windows laptops.
- – My iPhone headset is the perfect microphone. Just plug it into my Mac, then hook the mic end on my collar or place mic end on the table right in front of me. No need other microphones.
- – My Macbook Pro webcam is enough to capture my face. Not the best, though… only 720p. I need plenty of lights to make it look better. I use my LED table lamp (and my detachable LED bike head light).
- – The Quicktime Movie Recording mode is great for showing my face while I speak and it can be full screen or side-by-side with other opened windows. No need other cameras.
- – OBS is a better screen recorder than the built-in Quicktime screen recorder. Both are free. OBS records straight into a full HD MP4 file and I can start/stop recording anytime I want (unlike QuickTime which has got many steps in between the start and stop).
- – Final Cut Pro is the better software (as compared with Adobe Premiere Pro) for editing a straightforward video tutorial. Trims and previews are super fast. I can also add oomph to my voice.
- – Writing the script directly on my blog as a new post was a great idea (why didn’t I think of that last time). Why? Two reasons. First, it has got a grammar checker (I use WordPress and the browser-based Grammarly). Second, the description for all my video postings is done when the script is done (Description? When you post a video, it is good to include a text description to provide context as well as for SEO).
- – I share the YouTube video to as many places as possible after uploading it. YouTube provides an easy sharing option. With it, I share on Tumblr, Linkedin, Pinterest, Facebook, Blogger, Twitter, Google Plus. (There is also Reddit and Stumbleupon which I think are not effective anymore). I put in the complete script/description with the post wherever applicable.
- – I post to Linkedin Article and Facebook Page Note for more exposure. Just copy and paste the script/description/blog post together with the link to the YouTube video.
- – Finally, I upload the same video to my Facebook Page directly, then share it on my Profile Timeline and private Facebook Group.
Could Be Better
In order to edit the video quickly, I left out the title, the intro, the outro and the background music.
I just ensured the message was
- short and sharp,
- quick to the point, and
- includes a call to action.
I also left out the closed captioning on YouTube and Facebook. Captioning may take me another 2 hours. It’s essential, though, which I will do after the video picks up traction and gets viewers consistently.
I could also add the video content to SlideShare and slotted into my autoresponder series, but that will be later.
Next Action Step
The key is to be consistent. Make one video a day, maybe two… or three in advance.
Remember that unlike blog posts, Facebook posts, and email posts, YouTube videos stay there forever as long as the account is still around… and as long as YouTube is #1.
As always, feel free to ask a question.
For more tips on making YouTube and Facebook videos, please subscribe.
Adrian Lee
VIDEOLANE.COM
PS:
Please SUBSCRIBE to my YouTube channels…
Camera and Editing training…
– https://www.youtube.com/user/videolane
Work at home Dad Lifestyle…
– https://www.youtube.com/user/adrianvideoimage
Please LIKE my FB pages…
– https://www.facebook.com/VideoLane/
– https://www.facebook.com/AdrianVideoImage/
Also, connect with me here…
https://www.facebook.com/AdrianLeeYC
https://www.linkedin.com/in/adrianleeyc
https://www.instagram.com/adrianvideoimage/
![]()
Discover more from VIDEOLANE.COM ⏩
Subscribe to get the latest posts sent to your email.
